Formatting photos for club competitions
Introduction
Club and L&CPU competitions require projected digital images (PDI) to be jpegs, to use the sRGB colour space and be EXACTLY 1600 pixels wide by 1200 pixels high. Note that an image this size has an aspect ratio of 4:3, i.e. the height is three-quarters of the width.
As far as the author knows, just one medium format camera and a few four-thirds cameras have a native image aspect ratio of exactly 4:3. So, unless you happen to be blessed with one of those, you have some work to do in image editing software to give you the result you need.
The easiest option is to crop your image so that it does have an aspect ratio of 4:3. Alternatively, you need to perform a bit of trickery in image editing software to add black space to your resized photo so that it becomes exactly 1600 pixels wide by 1200 pixels high. The rest of this page is devoted to explaining how to do that. The screen dumps shown all come from an old version of Photoshop Elements – but a similar process can usually be followed in other software.
Step 1
The first thing to do is select the photo to work on. If you have taken it as a JPEG then open it in your image editing software and carry on to Step 2. If you have taken it as a RAW then use your usual raw conversion software to convert it to a JPEG and open it in your image editing software. I will assume for now, that you know how to do that.
This is a photo of Rannoch Station which this page will use as an example, that I took in 2009 using a very ordinary 10 megapixel DSLR.

Step 2
You now need to decide whether you want to add a border around your photo. If you do not then move on to Step 3.
To add a border, you need to increase the size of the canvas by a few pixels and, unless you REALLY want to make it some different colour, make the canvas extension colour white. In Photoshop Elements, you need to select Image/Resize/Canvas Size which looks like this.

Note that the same submenu allows you to select Image Size. It is probably a bit different in the full version of Photoshop and in other image editing software. It is a LOT easier to add the border to the image before you resize it and this page assumes that you will do that.
After clicking on the Canvas Size menu item, you will then see this dialogue (or something similar). The Current Size is still the original 10 megapixels. I have set the border to 10 pixels all round, clicked on “Relative” so that the software will extend the canvas by that amount and selected the Canvas Extension colour as white.

Step 3
It is now time to resize your photo. How you do that depends on the shape of your image. If the image width is at least 4/3 times its height, then you should resize it so that the width is 1600 pixels – otherwise resize the image to 1200 pixels high. You can resize the image in Photoshop Elements by selecting the menu item Image/Resize/Image Size (see menu under Step 2). You will see this dialogue or similar.

As you can see, I have set the width to 1400 pixels. (but you should now use 1600)
Step 4
You can now extend the canvas with black, so that the image is the right size – 1600 pixels by 1200 pixels. Go to the canvas size dialogue again, as in Step 2. The dialogue will be like this.

Here, I have set the width and height to that required for competitions. Relative is unchecked because we want to set the absolute size of the photo not just extend the canvas by a few pixels. Note that the canvas extension colour is set to black. The result of this process will be like this. The image will be 1600 pixels by 1200 pixels.

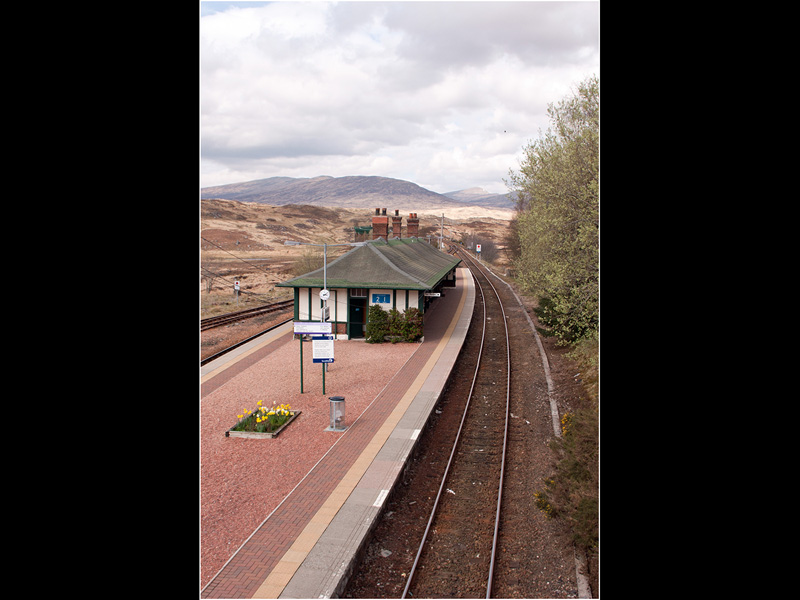
Just for interest, I took a portait shape crop from this image and did exactly the same processing but in Step 3 set the height to 1200 pixels. This is the result. If you are using a portait format original image, you can expect it to look like this.
Step 5
If you have taken the photo as a JPEG and your camera is set to use the sRGB colour profile, you can ignore this step. Otherwise, in Photoshop Elements, you can go to this menu item and change the colour profile to sRGB. The option “Convert to sRGB profile” is greyed out here because the image is already sRGB. The dialogue is different in the full version of Photoshop, but I feel sure that anyone who has that will cope.

I hope this page is helpful. If you have any suggestions for improvement, either raise it at a club meeting or use the Contact Page Feel free to suggest improvements to the web site or subjects for other Practical pages.